Learn How To Fix Shingles
To understand how to patch a roof with shingles, you must first understand why shingles need to be replaced and what tools are required for the job. This is intricate work, and you need to know everything you can before attempting to solve these issues. This guide explains the process of patching roof shingles to homeowners who are eager to keep their roofs in optimum condition.
Table of Contents
- How Can Roof Shingles Become Damaged
- Tools Needed for Patching a Shingle Roof
- How to Patch a Shingle Roof
- Use AmeriPro Roofing for All Your Patching Needs
How Can Roof Shingles Become Damaged?
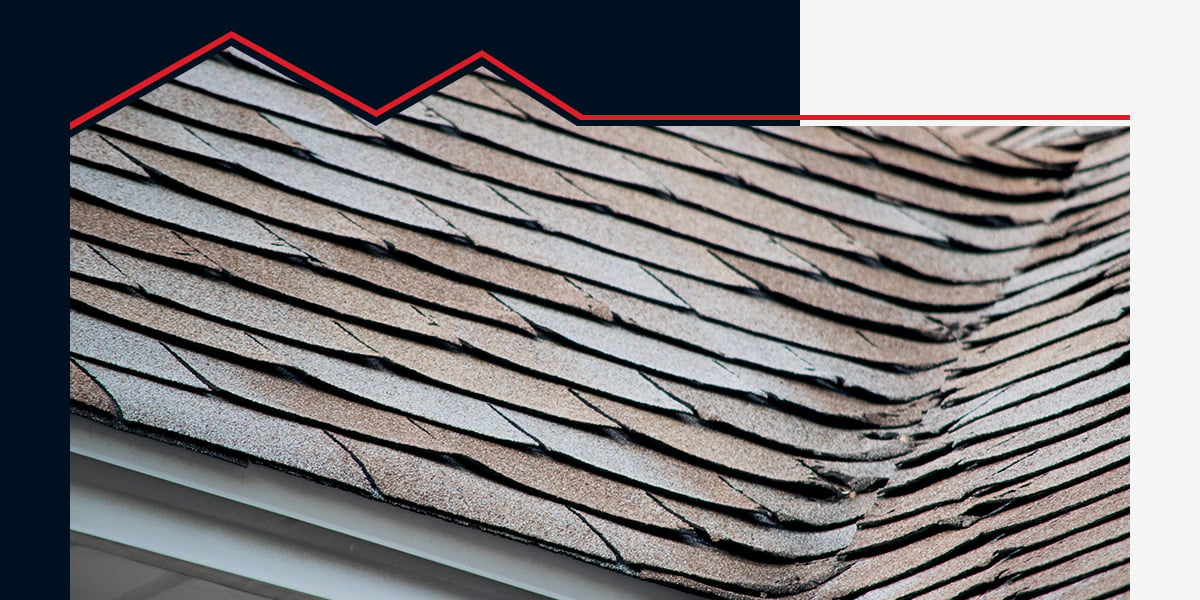
Your roof shingles can get damaged in many ways. Various external factors, like weather conditions, can affect the life span of your shingles. These are the most common ways your shingles can become damaged:
- Weather exposure: Harsh weather, like heavy rain, hail, snow and strong winds, damages your shingles over time.
- UV radiation: Prolonged exposure to sunlight leads to asphalt breakdown in shingles. This causes them to become brittle and more susceptible to damage.
- Poor installation: Shingles installed incorrectly will break down faster. Improper fastening or inadequate sealing will lead to premature damage. These faults mean your shingles cannot withstand weather challenges effectively.
- Lack of ventilation: Inadequate attic ventilation can lead to excessive heat buildup. Heat buildup accelerates the aging process of shingles and causes them to curl, crack and lose granules.
- Moss and mold damage: Mold, moss and algae on shingles will compromise their integrity. These organisms retain moisture, which accelerates the deterioration of your roofing materials.
- Ice dams: Accumulation of ice dams occurs in colder climates. They can force water beneath your shingles, leading to water damage and other problems.
- Impact damage: Falling branches, debris and other objects hitting your roof can cause immediate and visible damage to your shingles. This is more common in areas with lots of trees and heavy winds.
Tools Needed for Patching a Shingle Roof
Patching a roof shingle requires the right tools. This is a list of everything needed for patching roof shingles:
- Safety glasses and gloves: Protect eyes from debris and hands from sharp edges.
- Slip-resistant shoes: Ensure stability and safety while working on the roof with the right shoes.
- Hammer: Use this to remove damaged shingles and secure replacements.
- Utility knife: Use a utility knife to cut and trim shingles to fit the patching area.
- Pry bar: Lift and remove old shingles without causing additional damage.
- Chalk line: Ensure straight and accurate guidelines for aligning and placing new shingles.
- Replacement shingles: Match the color and type of the existing shingles for a seamless appearance.
- Roofing nails: Use this to secure replacement shingles in place.
- Roofing adhesives and sealants: These ensure a watertight seal between shingles to prevent leaks.
- Roofing cement: Use this special adhesive to secure overlapping shingles and reinforce edges.
- Ladder: This gets you access to the roof and helps you ascend and descend safely.
- Safety harnesses and anchors: These are essential for fall protection when working at elevated heights.
- Roofing nail gun: This optional tool speeds up the nailing process and increases efficiency.
- Roofing shovel: Use this to remove multiple shingles at once. This is an optional way to streamline the entire patching process.
How to Patch a Shingle Roof
Patching a roof is an intricate process that can be risky. Falling off the roof and improper shingle installations are easy and significant mistakes. AmeriPro Roofing is your best bet when your shingles need patching. This six-step process is how to patch roof shingles the right way. We strongly recommend you leave this job up to us, but explaining our process will help you understand why this task is better for the professionals.
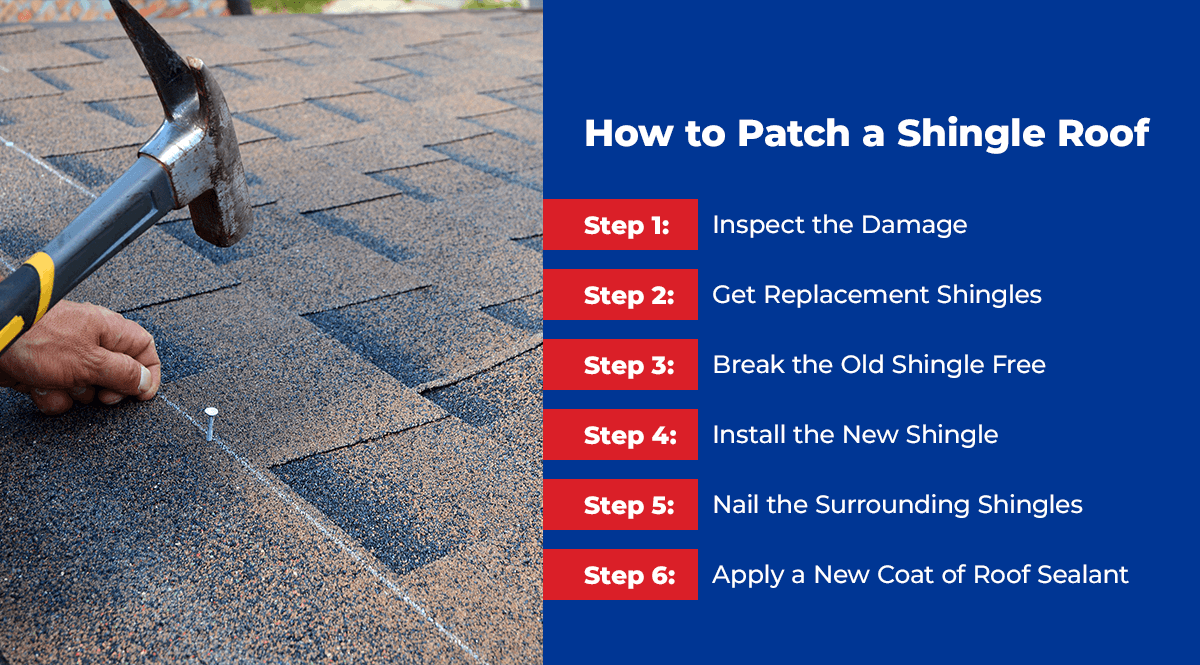
Step 1: Inspect the Damage
The first step involves a thorough visual inspection of the roof. Our inspections help us determine what needs to be done, what supplies we need and what course of action is best. The inspection includes looking for missing, curled, cracked or discolored shingles. We also check for granule loss by checking the gutters and downspouts. Granule loss means shingle deterioration, which suggests there are weakening shingles to look for. With this information, we can provide a thorough and effective patching service.
Step 2: Get Replacement Shingles
Once we have identified damaged areas after the inspection, we get the shingles and tools we need for the job. We find shingles that match your current ones to create a seamless appearance. If necessary, we will order specialized shingles for the job to ensure you get exactly what you need. When we have everything we need, we prepare our team and tools to start working on your roof.
Step 3: Break the Old Shingle Free
Using a pry bar or hammer, we carefully hit the damaged shingle’s edge and loosen the roofing nail. We work gently to avoid causing additional damage to the surrounding shingles. Once the nails are exposed, we carefully extract them to release the damaged shingle. We also remove debris and old roofing cement to create a flat surface for the replacement shingle. By following a careful procedure, we ensure a seamless integration of the new shingle into the existing roof structure.
Step 4: Install the New Shingle
A key part of our process is aligning the replacement shingle with the adjacent ones to ensure a proper fit. To secure the new shingle in place, we hammer in the roofing nails. We place them in designated locations using strict guidelines and precise measurements. The shingle is gently pressed down to ensure a snug fit. Before moving to the next step, we ensure the shingle is in the perfect place and is installed correctly.
Step 5: Nail the Surrounding Shingles
We carefully nail down the surrounding shingles to secure the newly installed one. The roofing nails we install follow the original nailing pattern to maintain consistency. The nails are driven flush with the surface to prevent potential water penetration. Our methods ensure we do not overdrive the nails, as this could damage the shingles. This is an important step as it helps seamlessly integrate one or more replacement shingles. It also reinforces the overall stability and weather resistance of the patched area.
Step 6: Apply a New Coat of Roof Sealant
Our final step involves applying a new coat of roof sealant along the edges of the replacement shingle and the overlapping areas. Using a caulking gun is one of the ways we ensure precise application to create a watertight seal and enhanced weather resistance.
Contact AmeriPro Roofing for Expert Shingle Patching Services
Hiring AmeriPro Roofing is the best way to patch a roof with shingles. Treating this job as a DIY task is dangerous and can lead to further damage. We have years of experience in the industry, so we can get the job quickly and effectively. Walking you through our process is the best way to explain why we are so good at what we do. Our passion lets us go above and beyond in all the roofing work we provide.
Schedule a complimentary roof inspection with us today, and we will help you get the most out of your roof. Stay protected and leak-free by trusting us with this intricate work. For more information on roofing and maintenance, check out our blog, or contact us today!


")