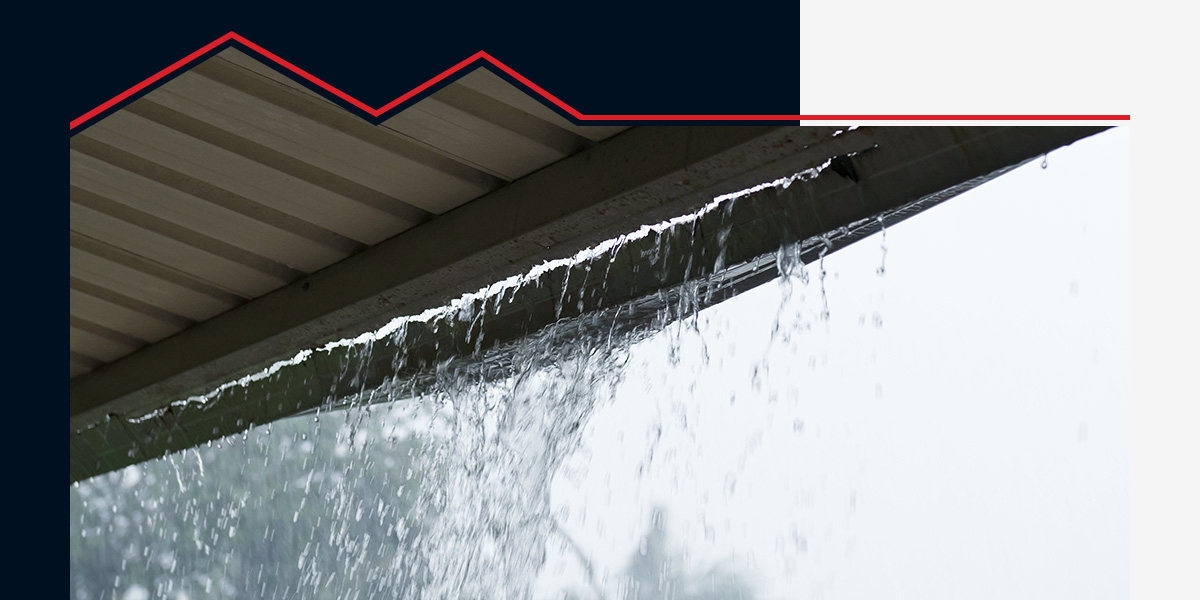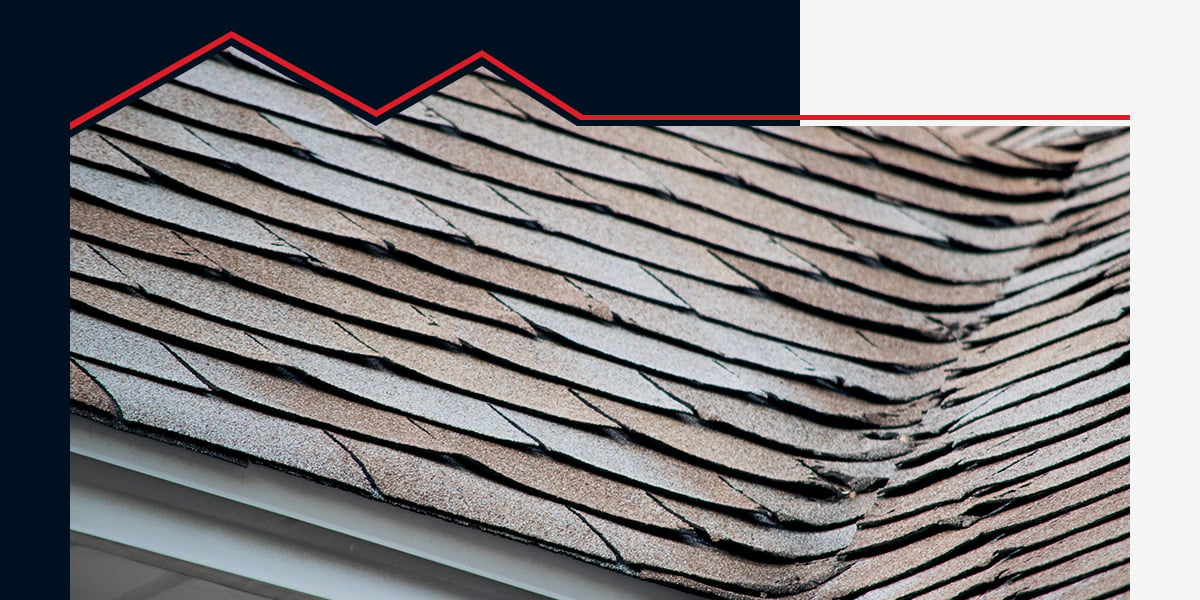
As winter blankets your home in snow, your roof faces more than extra weight. Ice dams trap melting snow and force water underneath your shingles. It may not seem like an issue at first, but eventually it leads to leaks, damaged ceilings and costly repairs. What starts as a small ice patch can quickly turn into water damage, compromised insulation and mold growth.
The good news? Ice dams are preventable. This guide by AmeriPro Roofing has everything you need to know, including what ice dams are, how to identify them on your roof and ways to prevent them from forming, to protect your home’s most valuable asset.
What Are Ice Dams and How Do They Form?
Ice dams are ridges of ice that freeze at your roof’s edge, gutters and eaves and prevent melting snow from draining properly. Water pools behind these ridges and seeps into roofing materials. The result is water damage to your roof deck, insulation and interior spaces.
Ice dams form when heat from your living spaces escapes into the attic. This heat comes from the HVAC system running to keep your home warm and cozy, warding off the winter chill. The heat warms the roof deck above, which melts snow on the upper roof. Even with outdoor temperatures remaining below freezing, the water runs down to the colder eaves, gutters and edges and refreezes, forming a ridge.
Over time, this thaw-refreeze cycle repeats itself and builds up the ice ridge along your roof’s edge. As snow falls and melts on the warmer upper roof, water continues to get trapped behind the ice dam, with nowhere to flow except sideways. Instead of running off your roof, the water pools directly under your shingles.
The cause isn’t the weather outside. It’s heat loss from inside your home. Inadequate attic insulation, poor ventilation or air leaks allow warm air to escape, creating ideal conditions for ice dams to form. If not maintained, exterior and interior damage will worsen over time, raising your repair costs.
What Kind of Damage Can Ice Dams Cause to Your Roof?
While icicles hanging from your gutters and edges might look picturesque, understanding how ice dams can damage your roof is essential for preventing costly repairs. The ice’s weight is a minor concern compared to the extensive, expensive water damage it can cause to your roof’s exterior and your home’s interior.
The financial impact can be staggering — water and freezing damage is the second-most-frequent cause of homeowners insurance claims. Ice dam damage doesn’t stop at the surface. Water finds its way into every vulnerable space, creating problems that worsen over time.
Damage to Your Roof and Gutters
The outermost part of your roof takes the first hit. Ice buildup is heavy and places stress on gutters. Once the weight is too much to bear, gutters pull away from the fascia board or tear it off completely. This leaves you with structural damage that needs to be repaired quickly.
Expanding ice underneath shingles breaks the seal that keeps water out and loosens fasteners. This ice buildup dislodges individual shingles or creates gaps in your roof where water can flow directly onto the roof deck. Once water seeps beneath the shingles, the decking becomes saturated. Wet wood begins to rot, compromising the roof’s structural integrity and racking up repair bills that cost far more than a simple shingle replacement.
Interior Damage to Your Home
Trapped water doesn’t stay on your roof. It seeps into your home through the attic, causing hidden damage to insulation, timber and electrical systems. Often, these issues are only noticed when it’s too late.
Wet insulation loses its thermal resistance and effectiveness. With insulation not doing its job in keeping heat in your home, you use your HVAC system more to warm up your space, which results in increased utility bills and wasted energy. It also becomes a breeding ground for mildew and mold, which can lead to a range of respiratory problems and other health risks.
Once water passes through your insulation, it can cause damage to ceiling materials, too. The longer water sits and seeps into your ceiling, the more extensive the damage becomes — discoloration patches, damaged drywalls, trim and flooring issues and even ceiling collapse.
How to Identify the Warning Signs of Ice Dams
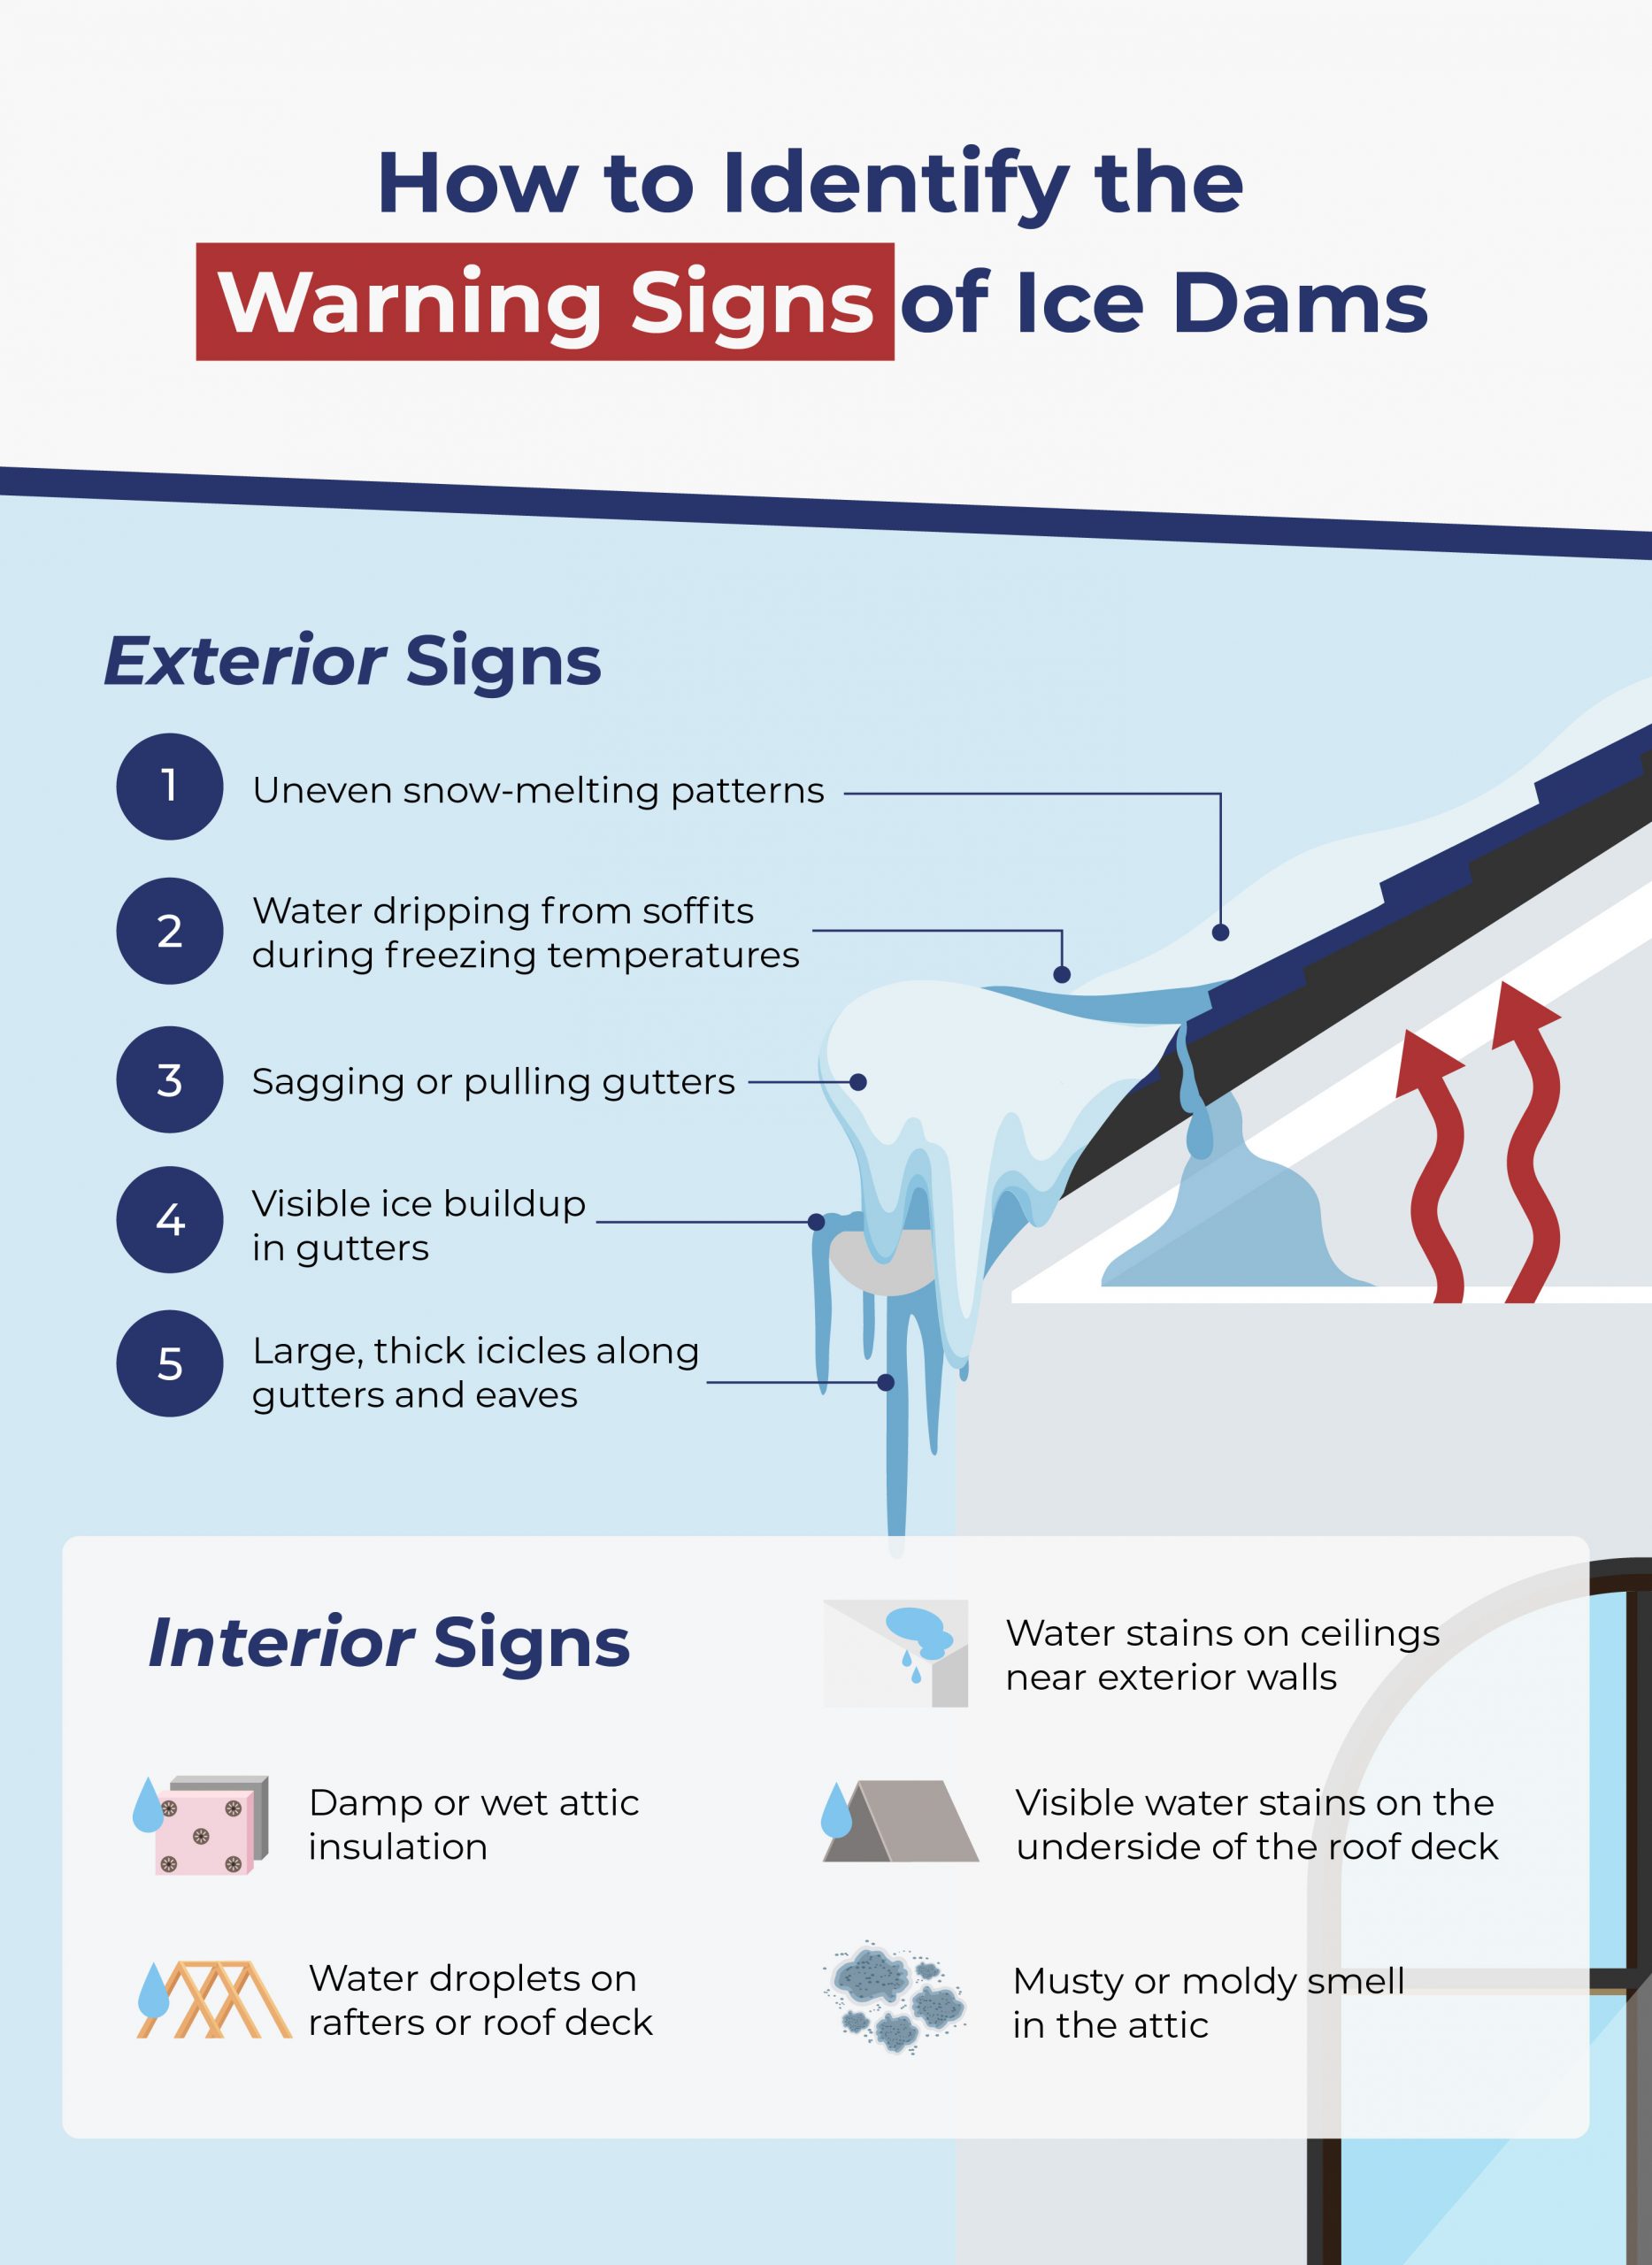
Catching ice dams early gives you the best chance to protect your home and significantly reduce repair costs. Knowing how to identify ice dams on your roof lets you take action before they become major structural disasters.
Exterior Signs
When inspecting your home’s exterior, several telltale signs will warn you of ice dam formation:
- Large, thick icicles along gutters and eaves: While a few scattered icicles are normal, numerous heavy icicles forming a curtain along your eaves indicates that water is refreezing at your roof’s edge.
- Visible ice buildup in gutters: Ice accumulation means that water is refreezing and not draining.
- Uneven snow-melting patterns: Upper roof sections are snow-free, while lower edges remain snow-covered, showing the temperature difference of your roof.
- Sagging or pulling gutters: Gutters pulling away from your home signal that ice weight is straining the fasteners.
- Water dripping from soffits during freezing temperatures: If you notice dripping from your roof’s overhang when temperatures are below freezing, melting snow is being trapped and forced to run where it shouldn’t.
Interior Signs
You can also check for signs of ice dam damage inside your home. The exterior signs might be well hidden under snow, but the water damage from ice dams is more visible indoors.
Look out for:
- Water stains on ceilings near exterior walls: Yellow or brown patches, often with peeling or bubbling paint, mean water has seeped through your roof decking.
- Damp or wet attic insulation: Check your attic for moisture and inspect insulation that looks flat, dark or deflated.
- Water droplets on rafters or roof deck: Visible moisture on the underside of your roof deck or along rafters signals water leaking through the roofing materials.
- Visible water stains on the underside of the roof deck: Dark streaks or stains indicate water has been present, even if the surfaces currently appear dry.
- Musty or moldy smell in the attic: A damp, musty odor indicates moisture has been present long enough for mold to grow.
If you discover any warning signs, fix them immediately. The faster you investigate and react to ice buildup, unsightly marks and random leaks, the better. But if the ice dams have already formed, there are ways to handle them safely.
How to Handle Existing Ice Dams Safely
Removing an ice dam properly is critical, as taking the wrong approach could cause even more damage to your roof. Your first priority is safety, both yours and your roof’s.
Here are a few tips for ice dam removal:
- Don’t chip at ice with tools: Hammers, chisels or ice picks will puncture shingles, crack roof decking or create dangerous slipping hazards.
- Avoid salt and chemical ice melters: These can corrode shingles and gutters, void roof warranties and harm landscaping below.
- Remove snow with a roof rake: The safest immediate action is to clear snow from upper roof areas using a roof rake to remove the meltwater source.
- Leave ice removal to professionals: Removing ice dams should be left to professionals with proper equipment, training and insurance.
Deicing your roof can be risky. But once the professionals have addressed your ice problem, you need to ensure your roof remains ice-free with preventive measures.
How to Prevent Ice Dams on Your Roof
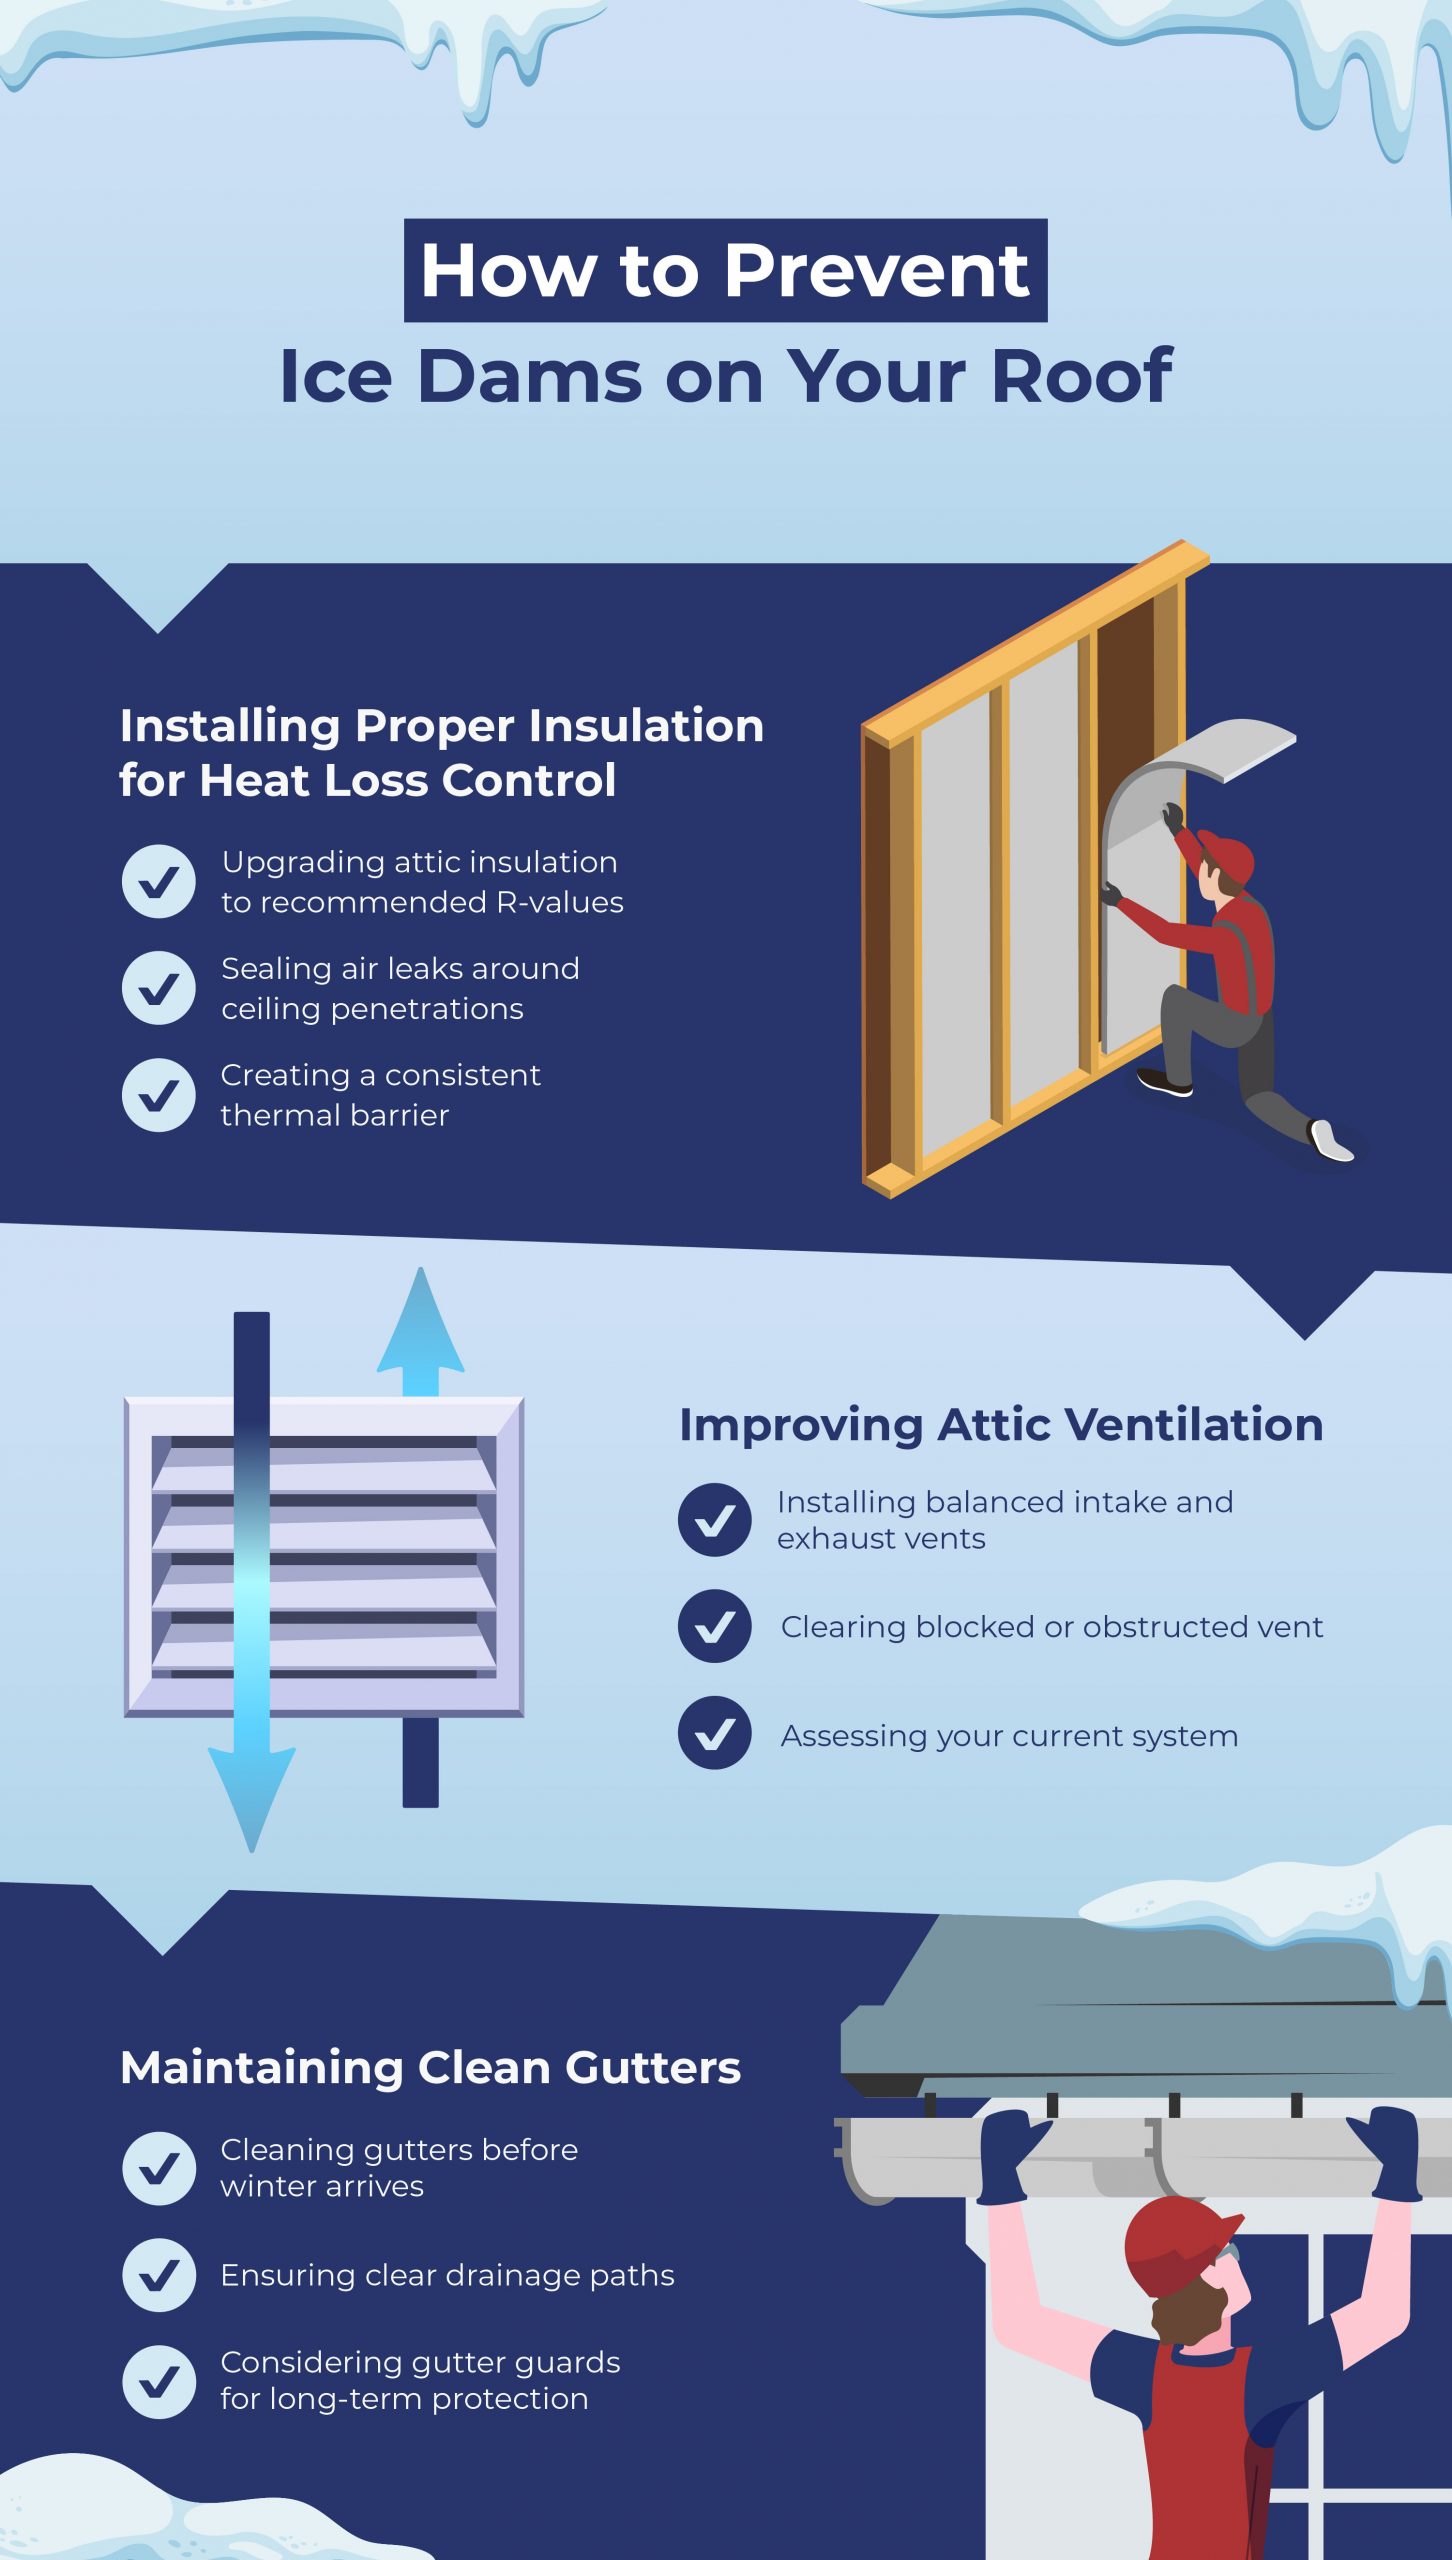
While addressing existing ice issues is important, preventing ice dams on your roof is the better long-term approach. The root cause is normally heat escaping from your home into your attic, and there are three interconnected strategies you can use to keep your roof cold and your home protected.
1. Installing Proper Insulation for Heat Loss Control
The top cause of ice dams is a warm attic. Heat loss through your ceiling creates the temperature imbalance that leads to ice dams.
Preventing ice dams starts with addressing this heat loss by focusing on:
- Upgrading attic insulation to recommended R-values: Your attic insulation is the thermal barrier between heated living spaces and the cold attic above. When insulation levels are below recommended R-values or are compressed, damaged or incorrectly installed, heat escapes and warms the roof deck.
- Sealing air leaks around ceiling penetrations: Gaps around plumbing vents, recessed lights and attic hatches allow warm air to create hot spots that melt snow directly above.
- Creating a consistent thermal barrier: Upgrading insulation and sealing air leaks keeps heat in your living spaces. It also prevents ice dams, reduces heating costs and improves your home’s comfort during winter.
2. Improving Attic Ventilation
Proper attic ventilation helps keep the roof cold, preventing snow from melting. A well-ventilated attic allows cold outside air to circulate freely throughout the space, keeping your roof deck at outdoor air temperature.
To improve attic ventilation, start by focusing on:
- Installing balanced intake and exhaust vents: A balanced system includes intake vents at soffits and exhaust vents at or near your ridge. This creates natural airflow as cold air enters through soffit vents, travels up through your attic and exits through ridge vents, carrying away the escaped heat.
- Clearing blocked or obstructed vents: Insufficient ventilation, blocked vents or imbalanced systems trap heat in your attic. Older homes often have inadequate ventilation, while newer homes can develop problems if soffit vents become blocked.
- Assessing your current system: A roofing professional can determine whether your ventilation system allows adequate airflow, identify blockages or imbalances and recommend improvements for a consistently cold attic throughout winter.
3. Maintaining Clean Gutters
While clogged gutters don’t cause ice dams, they create the perfect starting point by giving refreezing water a convenient place to build up. Ensure you’re maintaining your gutter by:
- Cleaning gutters before winter arrives: Leaves, twigs and debris create blockages that prevent proper water flow through your gutters. When melting snow reaches debris-filled gutters, it has nowhere to go. The meltwater sits in the blocked gutter, refreezes and begins ice dam formation.
- Ensuring clear drainage paths: Cleaning gutters thoroughly before winter is one of the simplest, most cost-effective preventive measures. This gives melting snow a clear path off your roof and away from your home.
- Considering gutter guards for long-term protection: Professional gutter cleaning services or gutter guard installation is a great long-term solution that keeps debris out and allows year-round water flow.
Does Homeowners Insurance Cover Ice Dam Damage?
The answer depends on your specific policy, the type of damage and whether you took reasonable preventive measures. Most standard homeowners insurance policies cover damage caused by ice dams, such as water damage to ceilings, walls, floors and belongings. If water from an ice dam damages your drywall, ruins hardwood floors or destroys furniture, your policy typically covers those losses, minus your deductible.
However, many policies don’t cover removing the ice dam itself or repairing damage to your roof, gutters or other exterior components. Insurance companies often view these as maintenance issues you should actively prevent through proper home care and upkeep.
The stakes are high. Insured losses from recent winter storms totaled $6.7 billion, with ice dam damage accounting for a hefty share. This massive cost prompts insurance companies to scrutinize ice dam claims more carefully and add specific coverage limitations. Some policies have special restrictions or exclusions for freezing-related damage, particularly if insurers determine that homeowners could have taken preventive measures.
To ensure you’re covered, review your specific policy and contact your insurance agent before problems occur. Ask specifically about ice dam coverage, including both damage removal and resulting interior damage. Understanding your coverage limits allows you to make informed decisions about investing in prevention rather than relying on insurance to cover damage after it occurs.
Spot Ice Dams Before They Damage Your Home
Prevention is better than facing costly repairs. If you notice any ice buildup, structural damage, uneven melting patterns or water dripping, inspect and clear your roof of snow as quickly as possible. Check both the interior and exterior of your home to note all water-damage spots so you can repair them without the guesswork.
While prevention strategies can reduce your risk of ice dams, every home is different. It’s important that you assess your attic’s insulation, ventilation system and roof design, as all play a role in whether ice dams will form. Taking action now means you won’t scramble to repair costly damage when the next winter storm hits. And if you need help assessing your ice situation, professionals are always a phone call away.